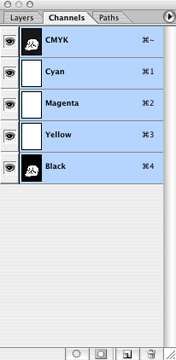
 The first thing we need to do is isolate the linework. In the earlier version of this tutorial, I used layers to seperate the linework out, but I’ve since learned that that can cause a little bit of trouble later in the printing process, and also increases the filesize a good deal. We can accomplish the same sort of thing using the Channels palette, and it also prevents us from using K-tones at the same time! Wotta bargain!
The Channels palette is usually located at the lower right of the screen. If you don’t see it, you can access it by going to your Window/Channels menu. It basically allows us to work with each ink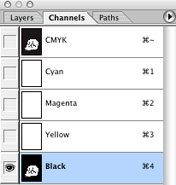 seperately, or in any combination we choose. To start, we can see that there is only information in the Black channel, since we haven’t added any colors yet. That’s effectively going to be our linework channel.
So what we’re going to do first is select only the Black channel. We can do that by clicking on it in the Channels palette. See? Easy stuff.
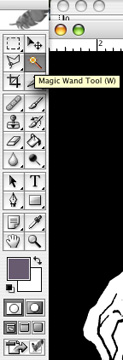 What you can do from here is select the areas you want to color. Since I draw in a mostly enclosed line style, it’s easy to select each area. We just select the Magic Wand tool, second from the top right of the Tools palette, which should be at the left of your screen. You can also select this tool by pressing the “W” key on your keyboard. I’ve been finding myself using more and more keyboard commands as I go, it’s a great timesaver.
We need to make sure that our Magic Wand settings are correct, though. Check at the top of the screen (in Photoshop CS1 for Mac, which is what I’m using– it may be somewhere else in other versions) you’ll find your tool settings. We want to make sure that the Magic Wand is set to “contiguous,” like so:
![]()
This will make sure that the Magic Wand only selects pixels of the same color that are next to pixels of the same color. It will select areas of white surrounded by black lines, for example. If we leave contiguous unchecked, the Magic Wand will select all the pixels of a certain color in the entire image, which, while a useful feature, isn’t what we want right now.
Let’s go ahead and start selecting the first area we want to fill. I feel like coloring in Jonny’s pants first, so I’ll go ahead and start clicking with the Magic Wand on the areas I want to color, holding down the shift key for each additional area I want to select. Soon we end up with this:
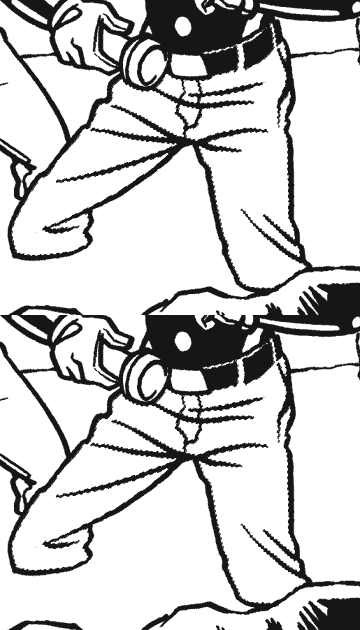
Those little wiggly dotted lines are called “marching ants,” and I think that’s a funny name. Anyway, they’re outlining the area that’ll be affected by our next actions. There’s one problem, though, that 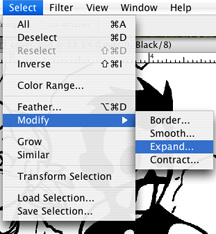 could come up in printing: What if our press gets just a pixel or two out of alignment? We’d end up with a white halo around our linework, and that’d stink, I say. Let’s avoid that by expanding the selection by a couple pixels, just in case. We can do that by going up to the Selection/Modify/Expand menu, which will bring up a dialogue box like so:

By expanding the selection, we make sure that there will be a little bit of overlap with the linework (which we won’t be able affect because we’ll have turned off that Channel. I’ll show you how to do that in a second.) so a slight printers’ error won’t show up in print.
Now we’re ready to start filling in the colors.


Comments are closed.