


This is my starting point: the rough layout! I do these on 8 1/2 x 11 copy paper with a little template printed on it with my laser printer. These are very rough, just giving me a basic idea of panel layout and composition. I always end up having to solve composition problems at the drawing stage anyway.
I rough in the dialogue on the other side of the paper. I usually rewrite most of it at the lettering stage anyway.
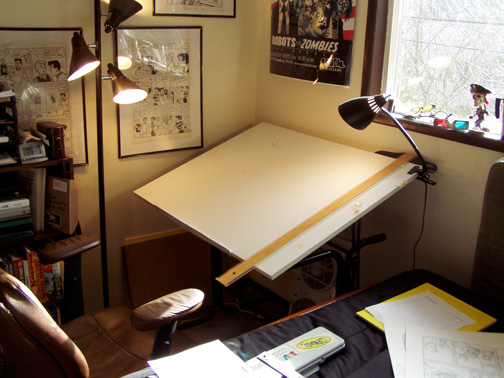
Here’s my secondary workspace. I have this drawing area set up in my room, but I have a better organized one set up in a studio at my pal Steve’s house. My necessary tools are in the plastic pencil case at the foot of the bed there.
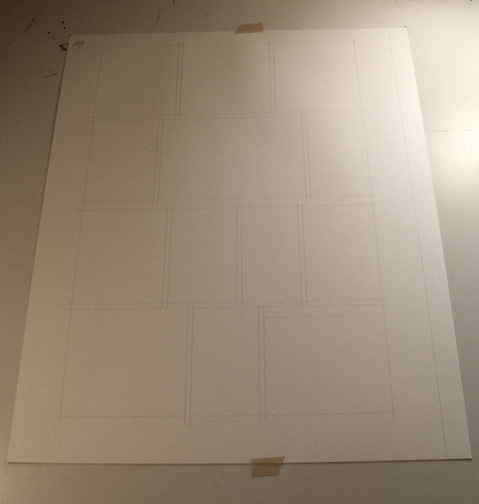
This is the first drawing stage. I just go in with a ruler and a t-square and measure out all the panels. I’m working on 19×24 inch series 300 Strathmore Bristol. I started this project with series 400, which for some reason comes in 18×24, so with the 300 I have to measure and cut off an inch on the side. Even worse, I can’t find the 18×24 pads in Portland, so I have to buy single sheets that come in 22×30, for even more trimming.
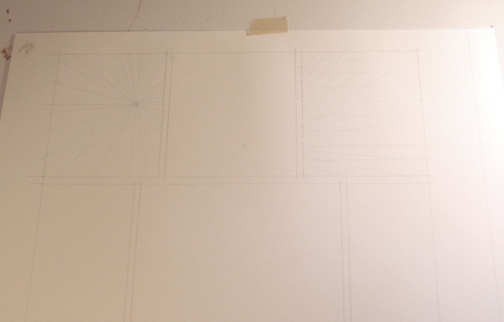
After ruling out the panel borders, I figure out which panels I’m going to need to draw a lot of perspective in, and draw a grid in blue pencil. The blue keeps the grid differentiated from the drawing I’ll do later. Having a grid makes it easier to draw the backgrounds without having to reference a vanishing point or three every time I draw a line. Saves quite a bit of time. The grids are a little hard to see in this photo due to the glare, I know. Sorry.
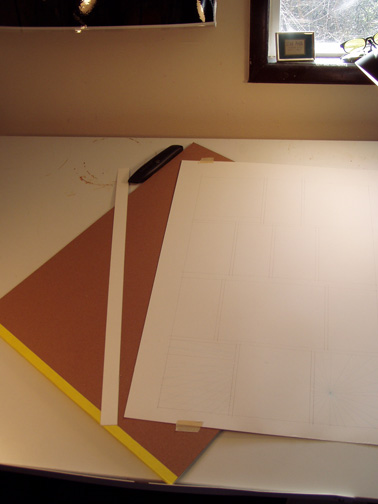
At this point I trimmed off the extra inch of paper on the side of my page. I use the back of the Bristol pad as a cutting board. Works pretty good.